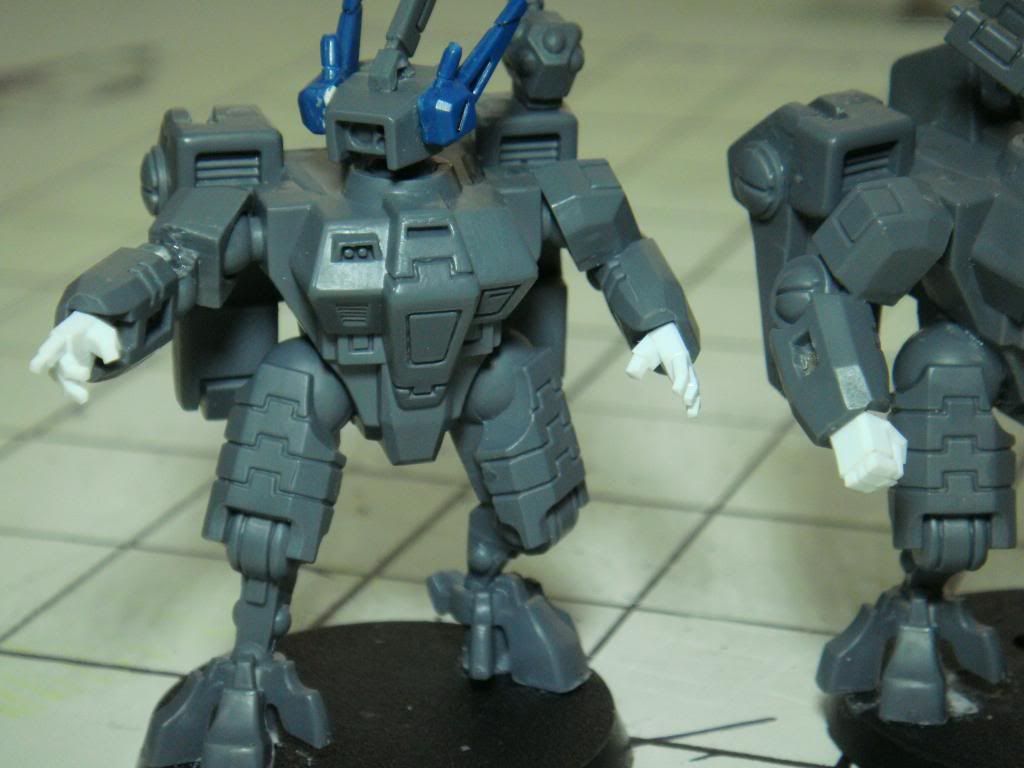
The Crisis suits were what drew me to Tau. I love all things mecha and being able to build and field guys in mech suits on a 40k battlefield was too cool to resist. I like the look of the models and don't mind that I have to hack apart the arms and legs to make them more poseable. The only thing I don't like are the hands. The whole tucked in look with just barely being able to see their three fingers just doesn't work for me. I wanted full hands like the suit commander model. I got the idea for using plastic rod to make hands after finding a picture in a google search of someone who had done the very same thing. The hands they had made looked really good so I bought myself some plastic rod and tried to learn how to do it myself.
Here are some of the hands I have made:
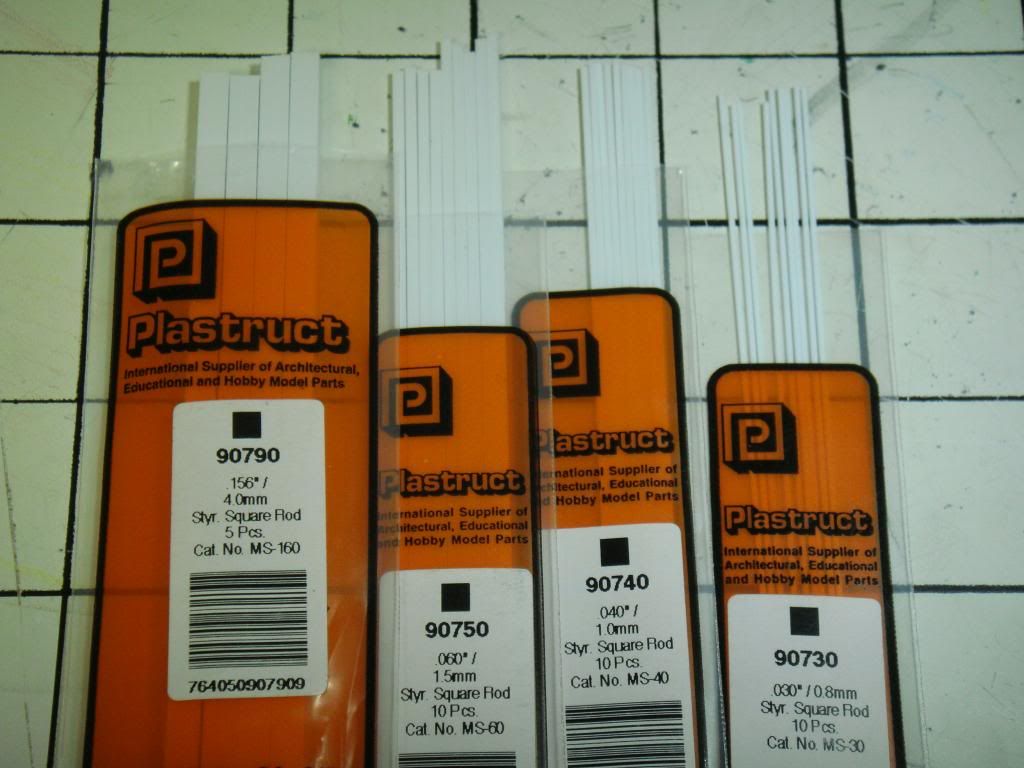
What you will need:
square rod, sizes 4.0mm, 1.5mm, 1.0mm, 0.8mm
hobby knife
tweezers
ruler with mm measurements
plastic glue
hobby saw (optional)
Tips from someone who learned the hard way:
1. always dry fit before gluing! It really sucks having to yank fingers off because they don't look right.
2. if using Plastic Weld glue always screw the cap back on after each time you glue a finger on. It really sucks if you forget to screw the cap back on and tip this glue over. Its really watery and spreads super fast. Plus the fumes are absolutely horrendous. If you do spill it just let it dry up. It evaporates pretty quickly as it dries. I made the mistake, after i spilled it on my cutting board, of trying to quickly wash it off with water. It reacts with water and turns into a gooey mess!
I buy Plastruct rod and use their glue, Plastic Weld, when working with the rod pieces. They have a ton of different sizes and can be bought online from many hobby supply sites. Each package cost me around $3 and one package of each size I listed above is enough to make more hands then you will ever need.
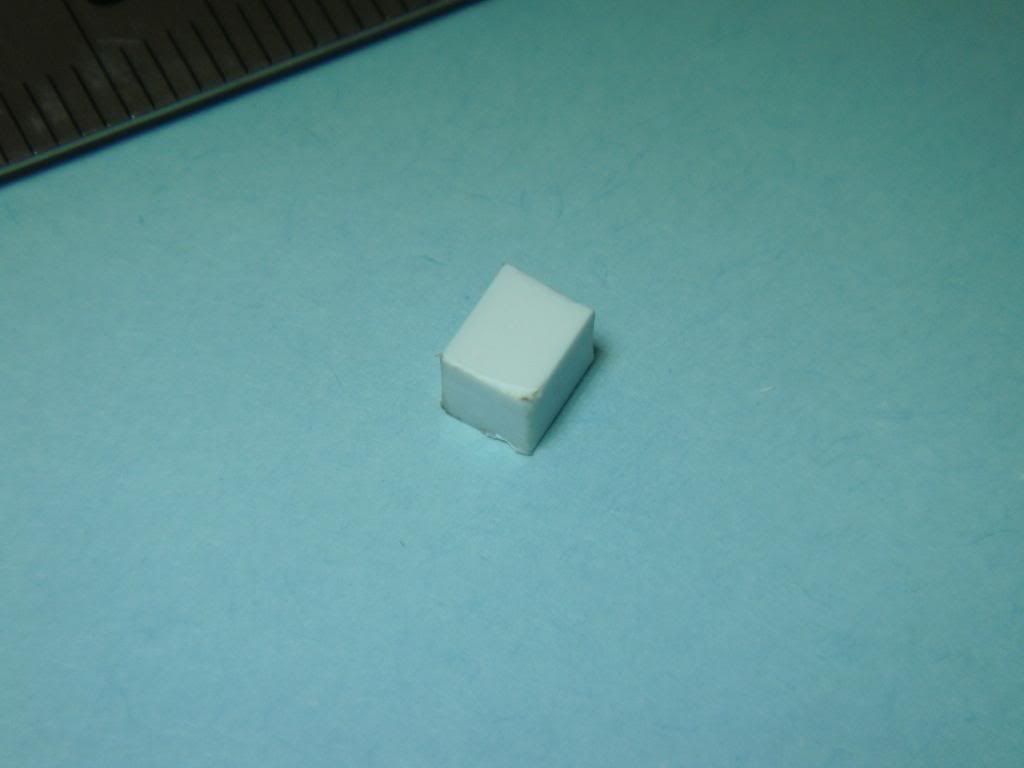
The first step is to take the 4.0mm rod and cut off a 5mm length. This rod isn't too easy to cut with just a hobby knife so you might want to use a hobby saw if you have one.

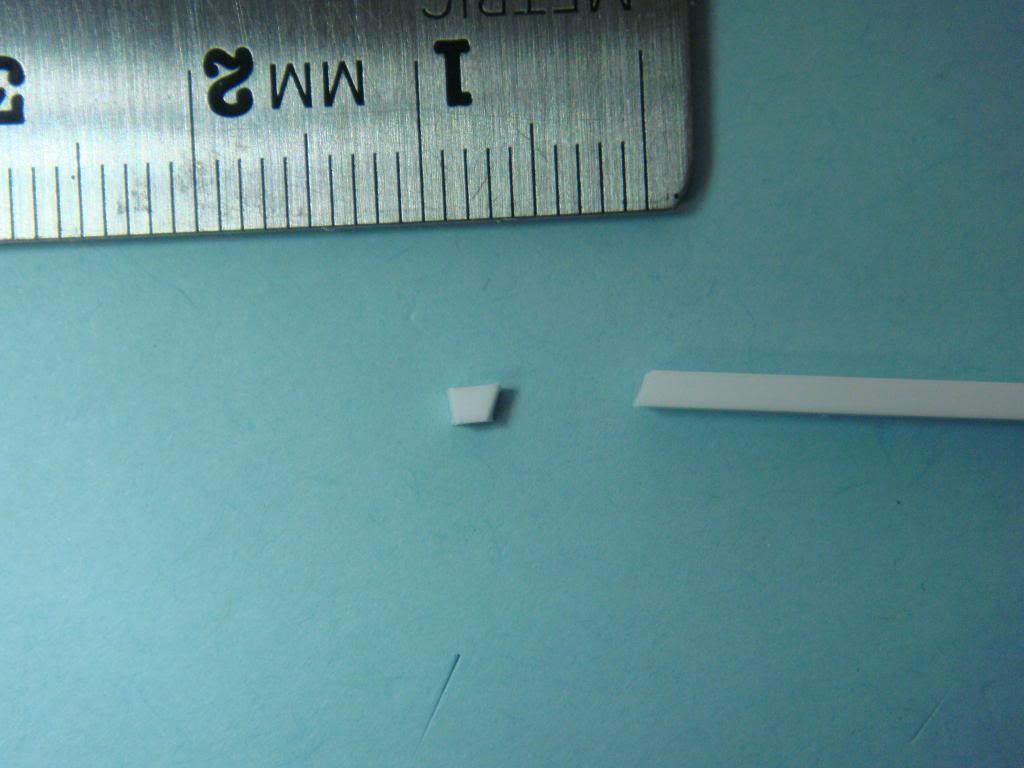
You should now have a block that looks like this.
Next cut the block in half the long way so you have to equal pieces.
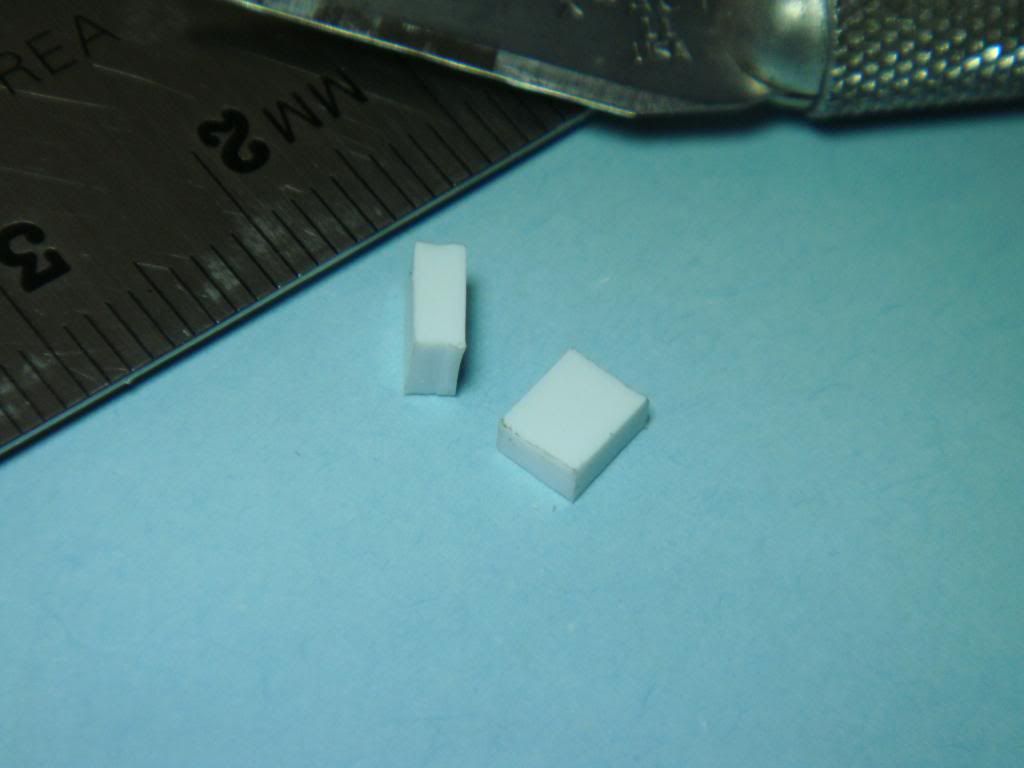
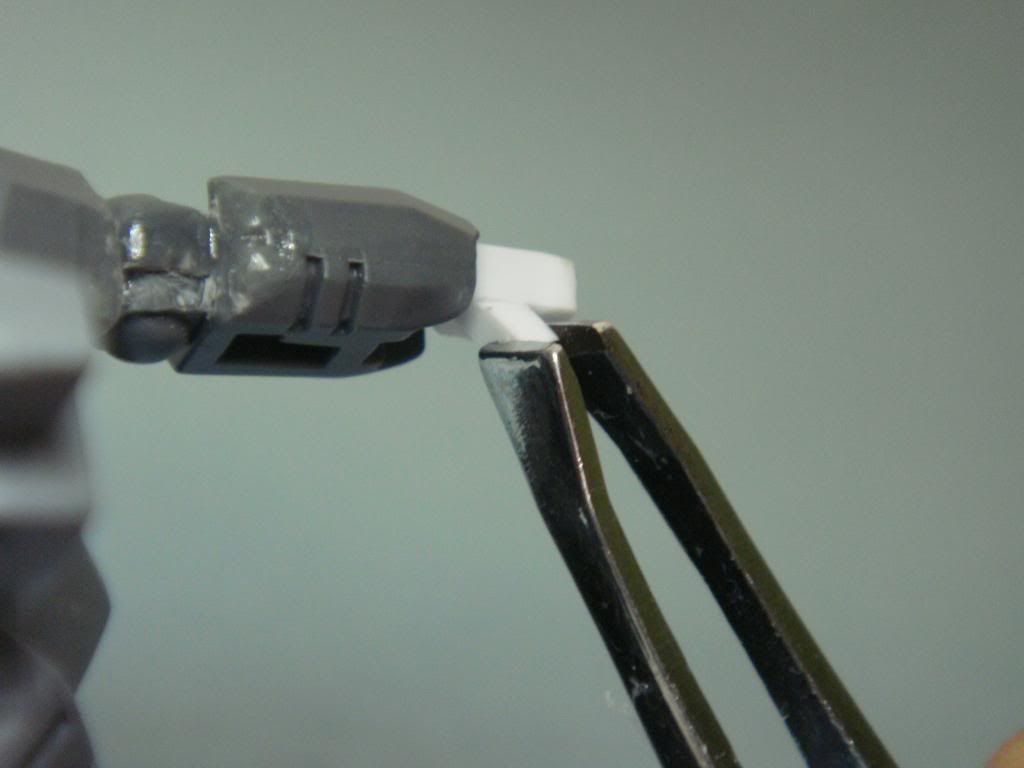
Take one of the pieces and cut off the corners of one of the short sides.
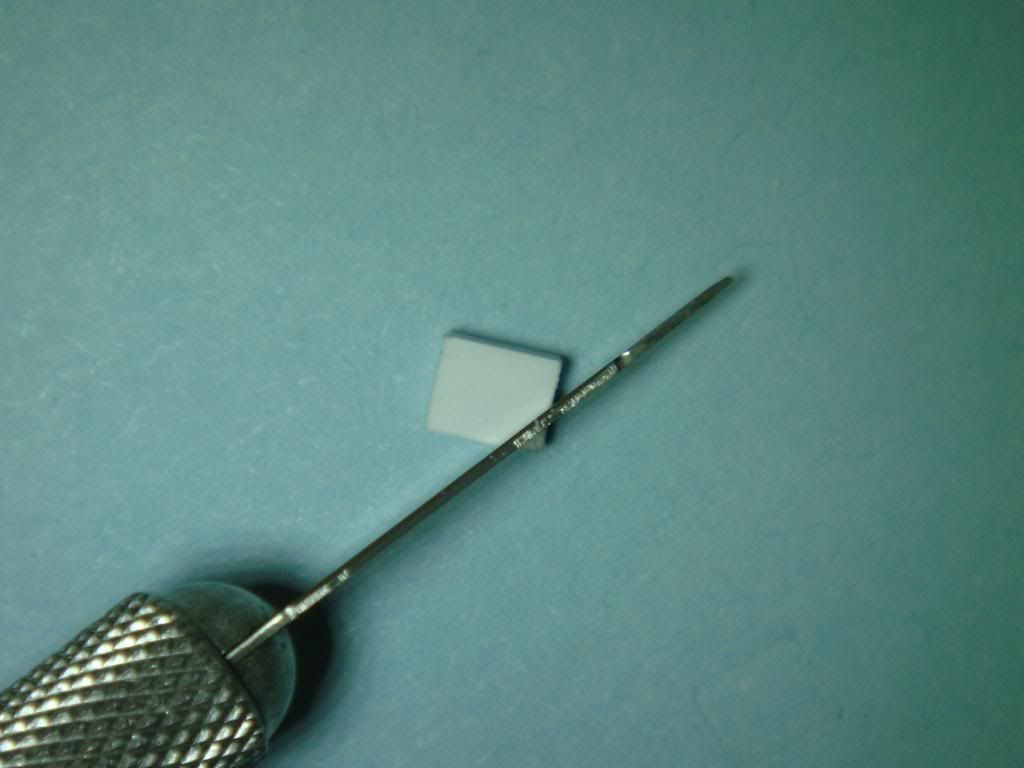
Now use the tweezers to attach the side with the cut corners to the arm of the crisis suit. I use just regular plastic model glue for this part.
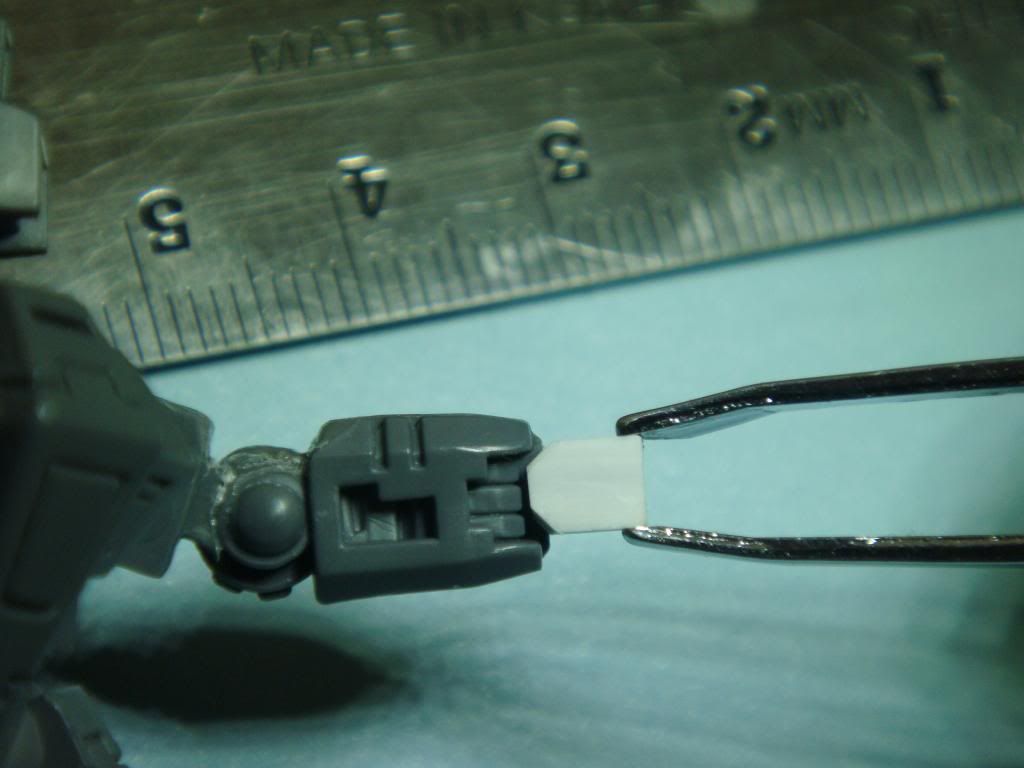
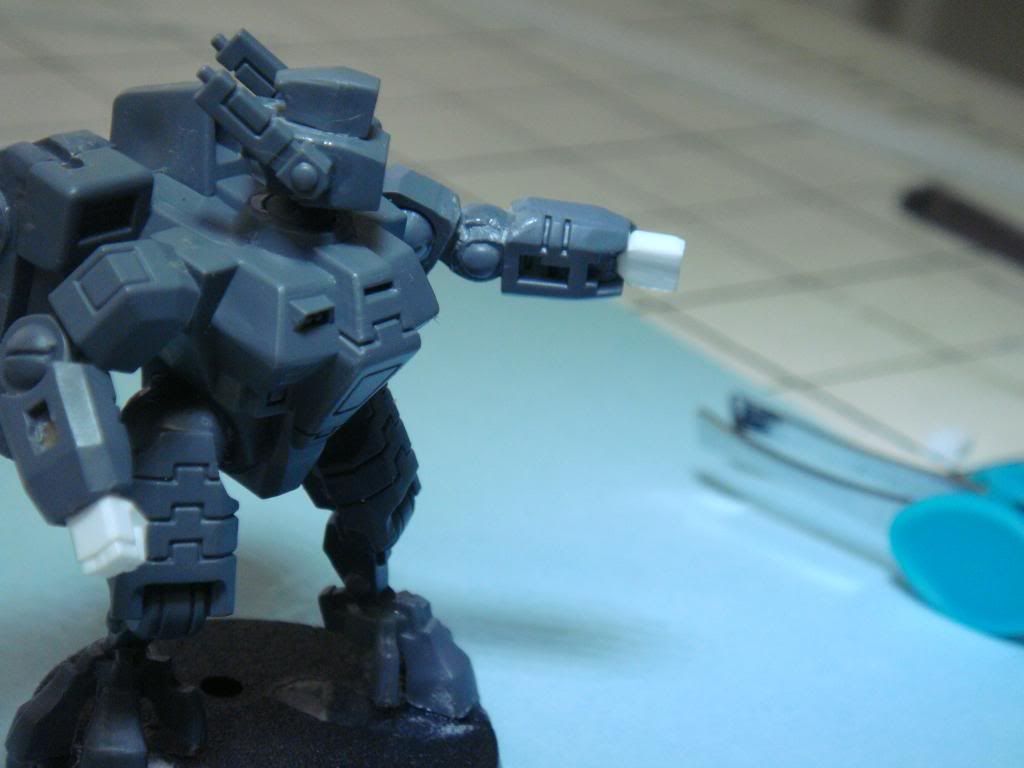
Let it sit for a bit so the glue can dry.
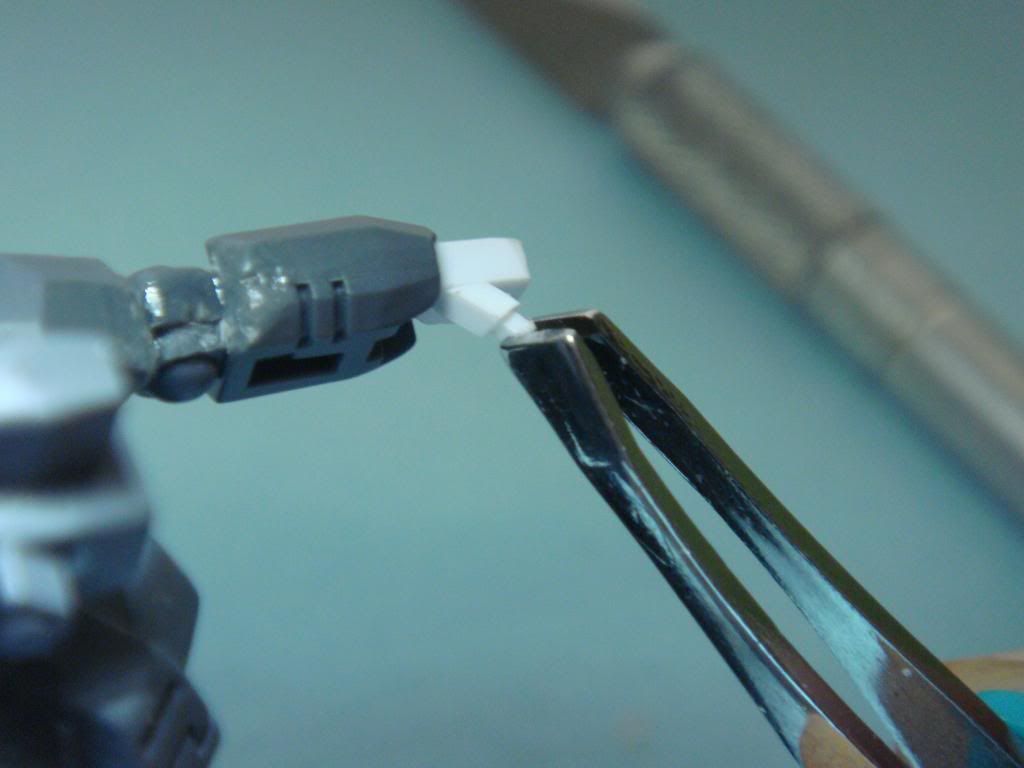
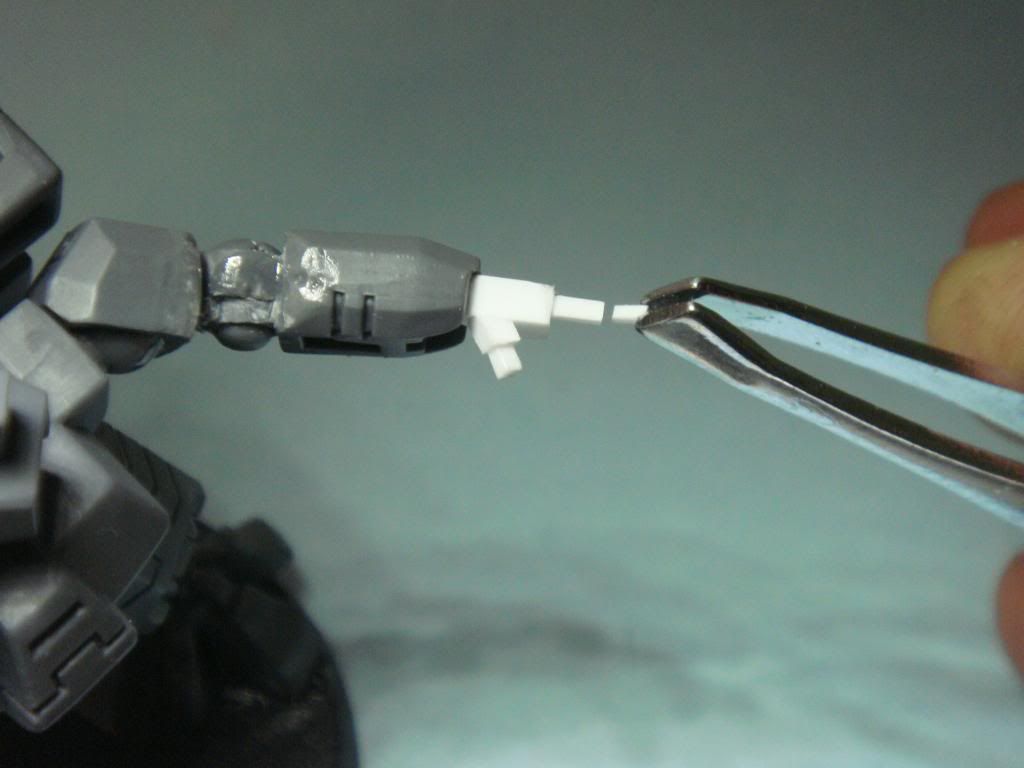
Next step is to make the thumb. Start by cutting off a 1.5mm-2mm section of the 1.5mm rod. You will need to cut at an angle to try to make it come off of the hand like a real thumb would. If you make just a straight cut it will just stick straight out and not look very good.
Use the tweezers to dry fit the thumb to the hand to find a position that you like. If you don't like the angle you cut it at then cut off a new one. Don't worry you have plenty of rod to spare. Once you are happy with the angle and the way it attaches to the hand you can then use the Plastic Weld to glue it in place. Regular plastic glue will work too but the Plastic Weld dries without leaving excess glue globs around the fingers.
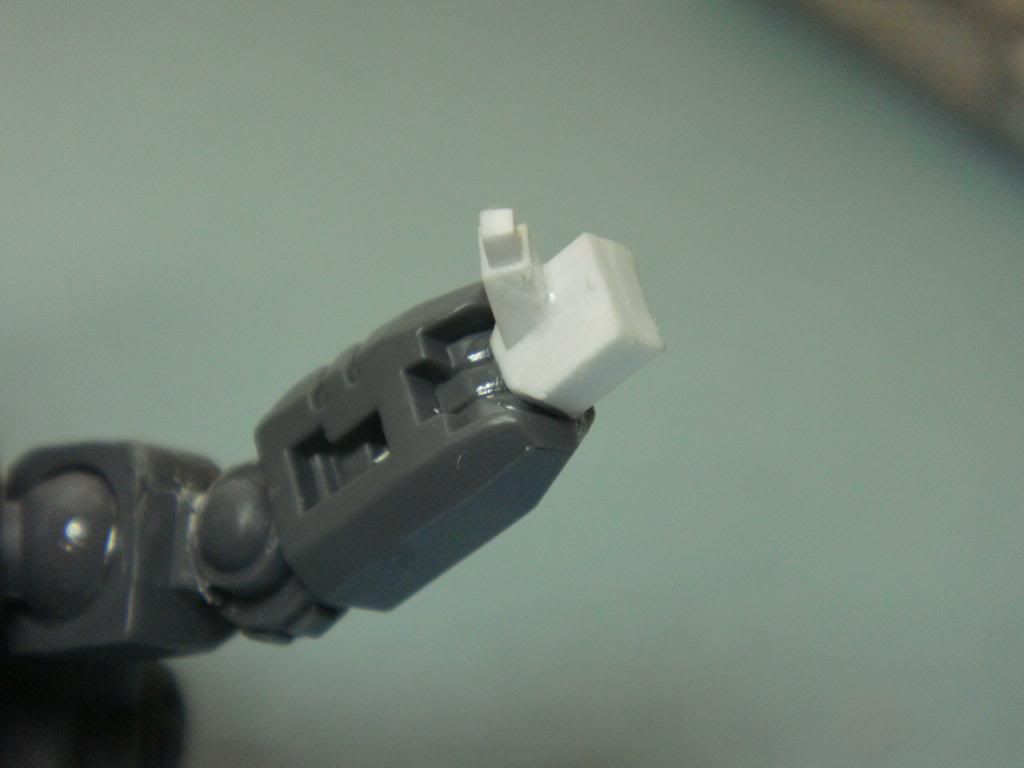
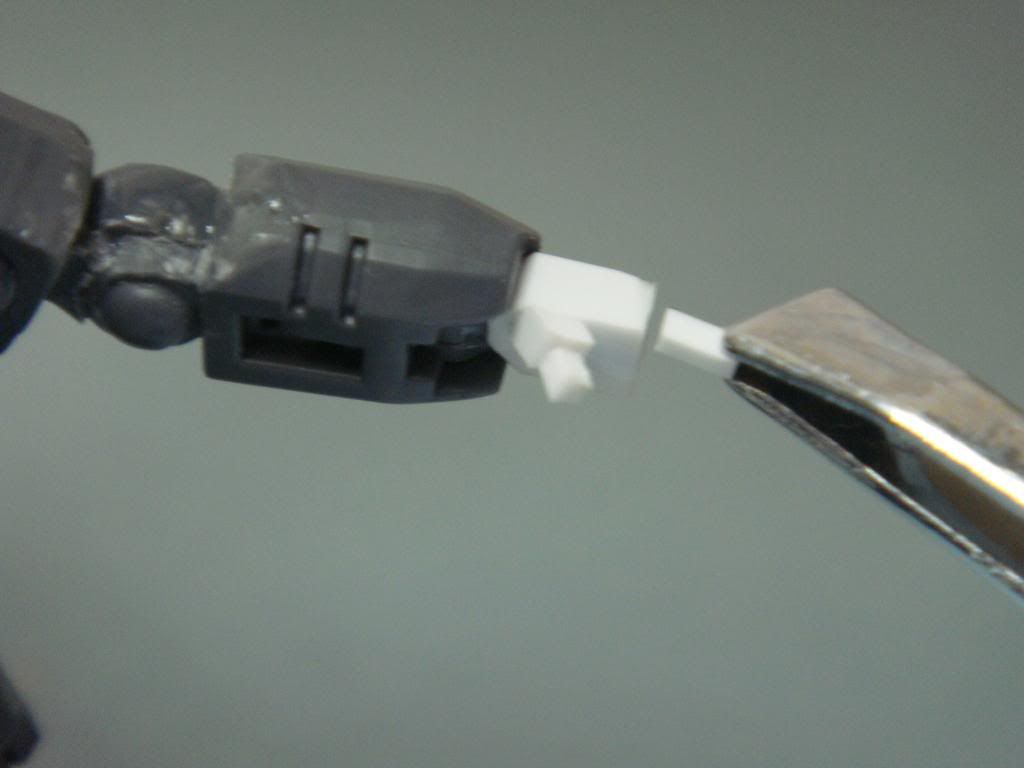
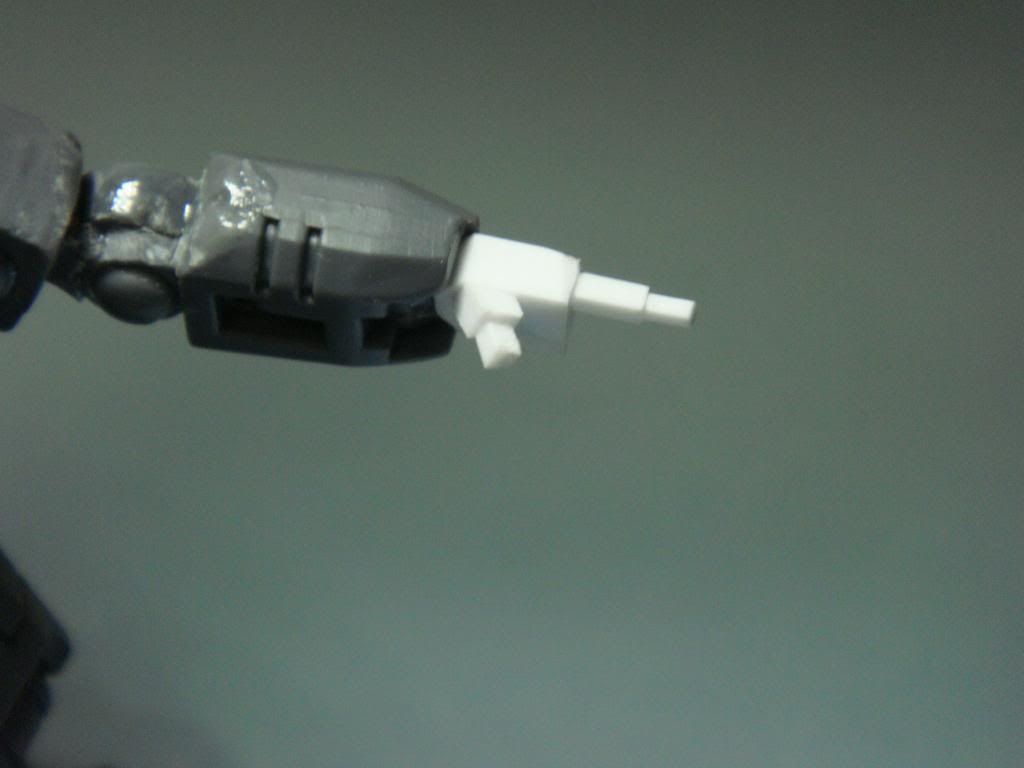
Now you want to add the 2nd part of the thumb. Cut a little more then a 1mm length of the 1mm rod. This can be either a straight cut or an angle cut if you want the thumb to look like it's bent. Dry fit the length to the end of the first part of the thumb to make sure it looks good and then glue it.
now the thumb is done!
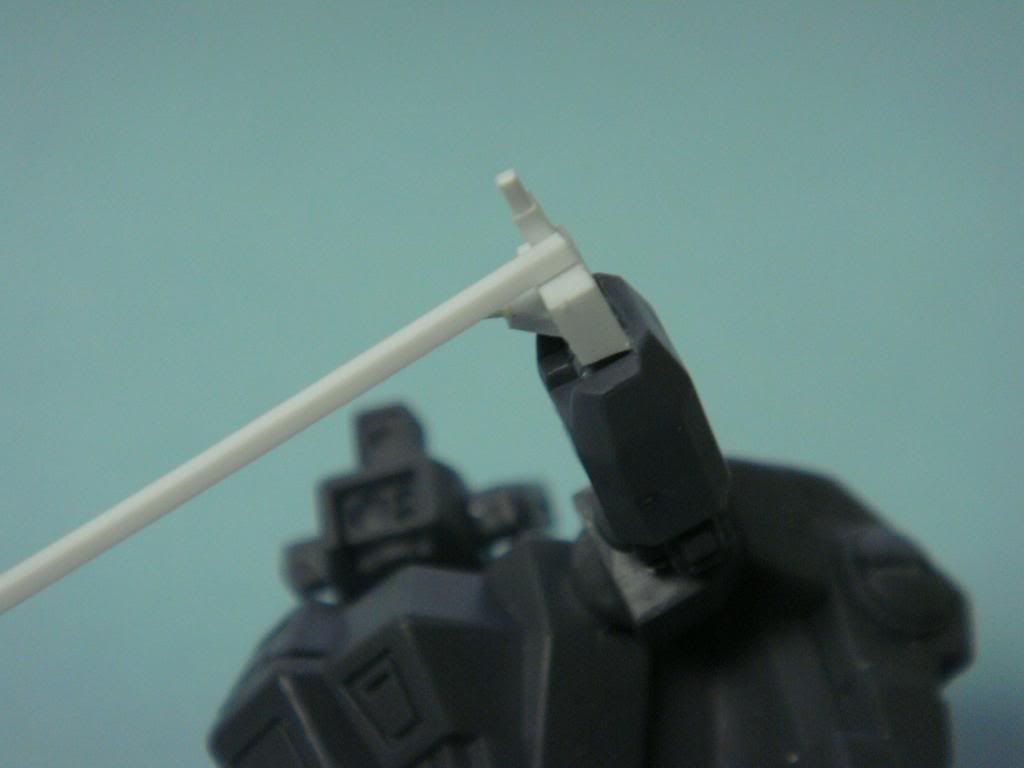
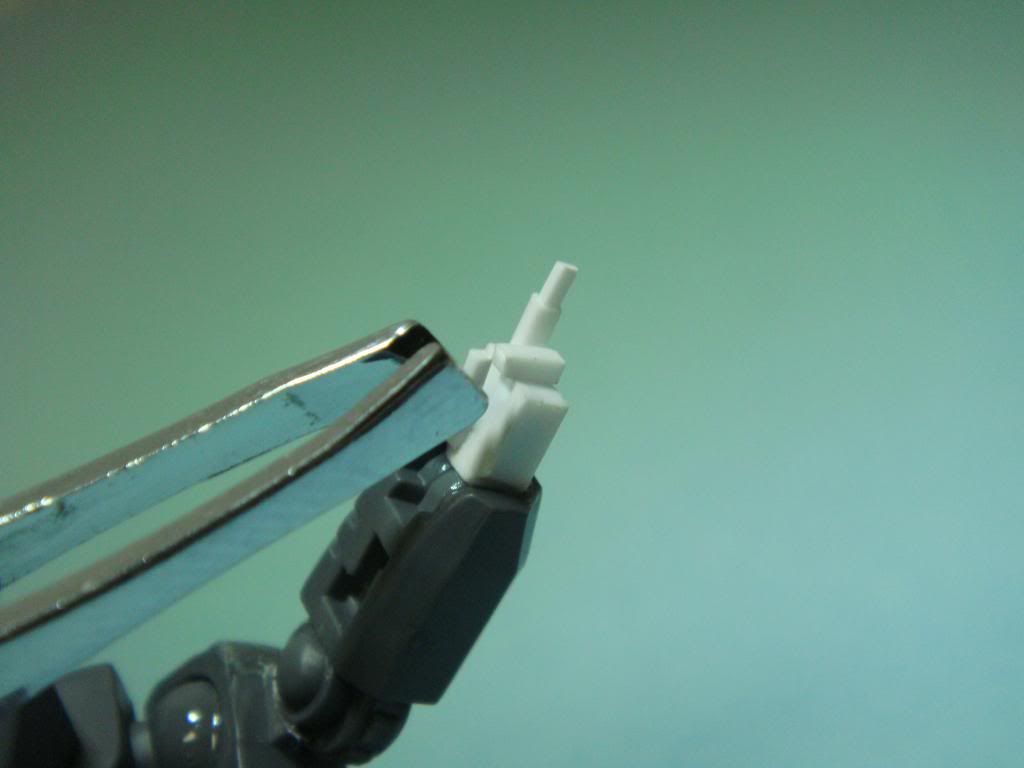
I'm going to be making this hand look like it's pointing so that I can show you two different techniques for making fingers. One for straight fingers and one for making a closed fist. First the straight finger. Start by cutting a 2mm length on the 1mm rod. I made a straight cut so it will just stick straight out like it's pointing. You can use angled cuts when making fingers to make them look like they're bending and make any pose you want. Dry fit the length and then glue it in place.
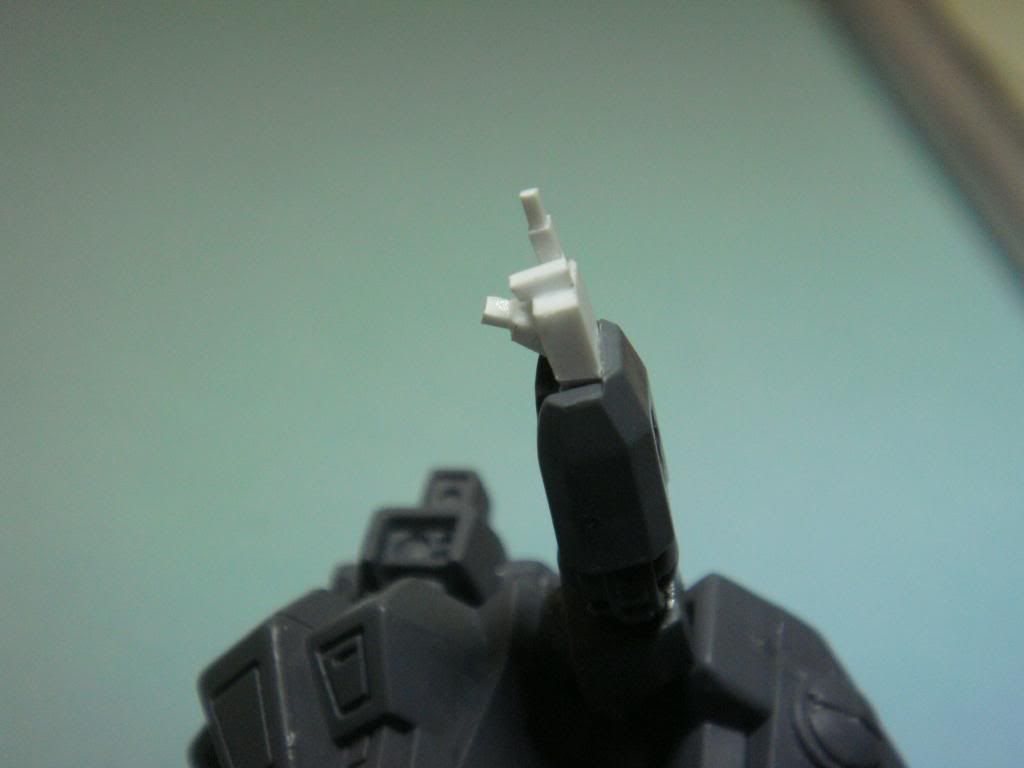
For the 2nd part of the finger cut a 1.5mm length of the 0.8mm rod. It really helps to have a steady hand when working with such small lengths of the 0.8 rod. I usually rest my forearms on the table so that only my hands are moving. Attach the rod when ready.
First finger done!
Now we are going to make a finger that is closed into the palm like when you make a closed fist. Take the 1mm rod and lay it across the hand like so:
this is how we are going to attach the finger. You need to cut a length that is a little longer then the thickness of that part of the hand. The thickness in 2mm so you need to cut a length that is just over 2mm.
After gluing the length in place it should look like this:
For the 2nd part of the finger you will need to cut a 2mm length of the 0.8mm rod. Closed fingers differ from straight fingers in that both parts of the closed finger are the same length. Attach the length you cut like so:
This is what it should look like after adding another finger, the same way, below the one you just attached. Now the hand is done!

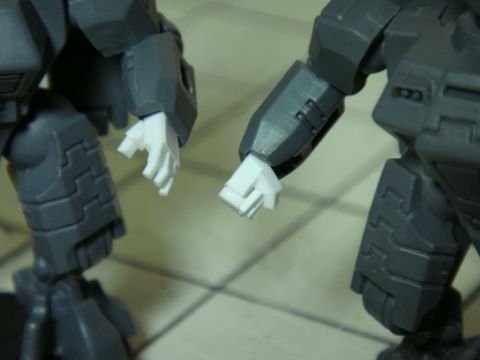
Here is a shot of an open hand and a closed fist:
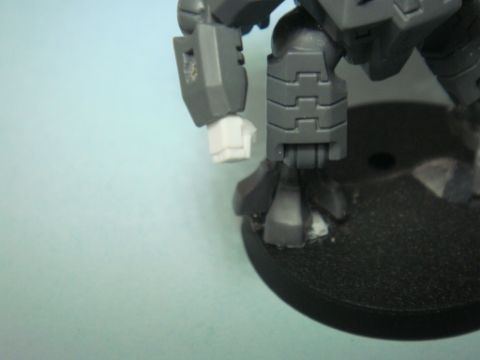
Another angle of the closed fist:
Well I think that's all I got. Hopefully I was able to make that somewhat understandable. Working with such small pieces of plastic rod can be really hard and it took me awhile to get the hang of it. The first few hands I made were pretty terrible so don't get discouraged if they don't come out the way you want. It just takes practice. If any of you have any question please don't hesitate to ask.
Where I bought the plastic rod:
http://www.hobbylinc.com/
4mm: http://www.hobbylinc.com/htm/pls/pls90790.htm
1.5mm: http://www.hobbylinc.com/htm/pls/pls90750.htm
1mm: http://www.hobbylinc.com/htm/pls/pls90740.htm
0.8mm: http://www.hobbylinc.com/htm/pls/pls90730.htm
Plastic Weld: http://www.hobbylinc.com/htm/pls/pls00002.htm
No comments:
Post a Comment